|
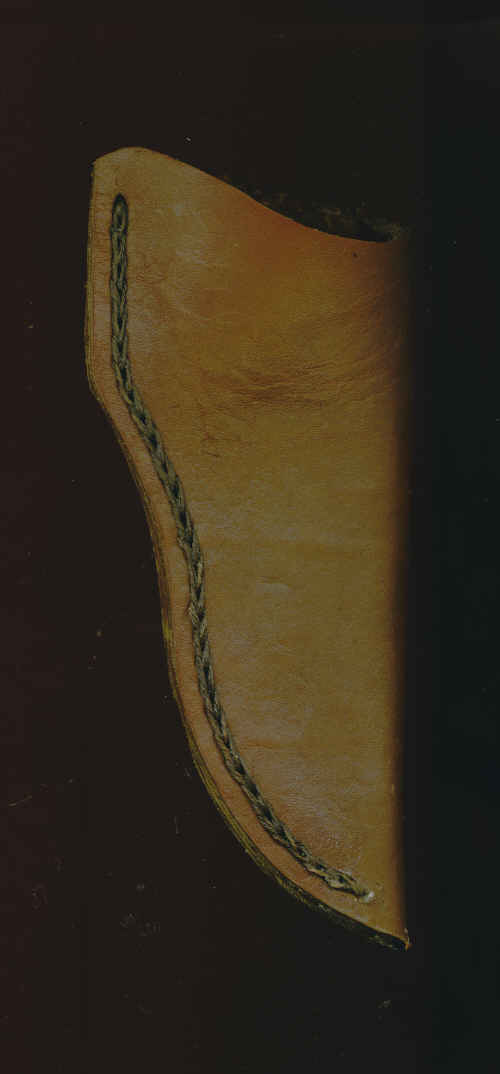
How to Stitch the Targhorn Sheath
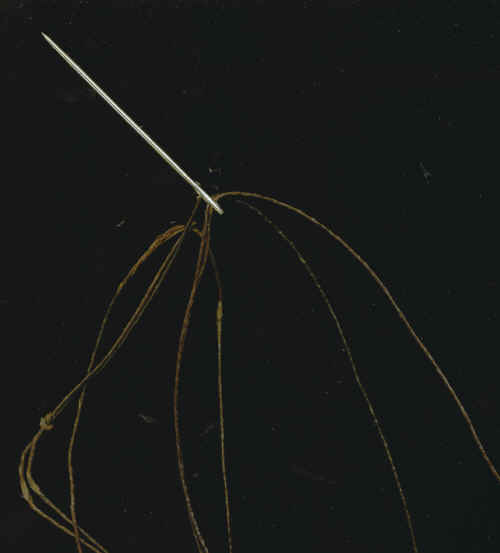
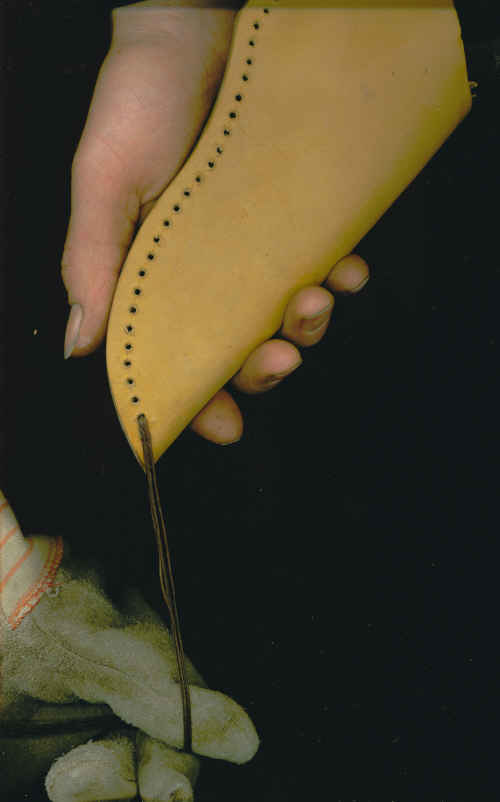
First step, take the length of your sheath from the tip to the hilt and times it by 32. This is the length of the thread you will need. Fold your length of your thread in half and tie the loose end. Thread your needle and fold thread in half again. You will have four strands of thread to begin your first stitch.
The First Stitch.
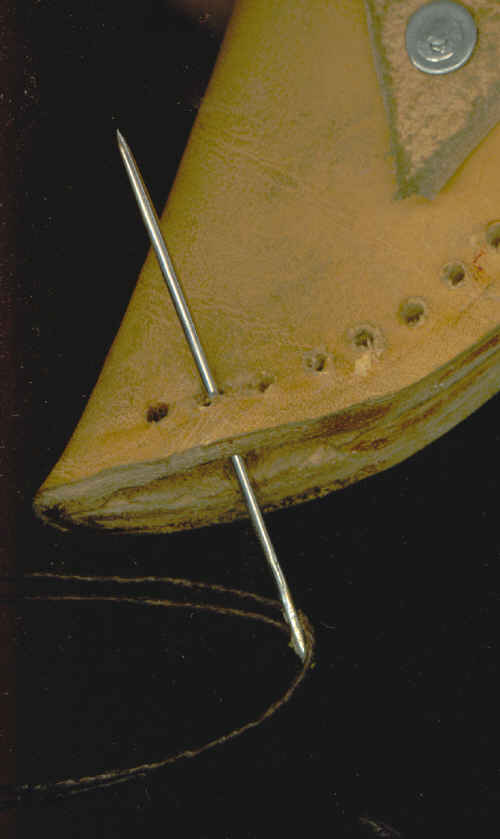
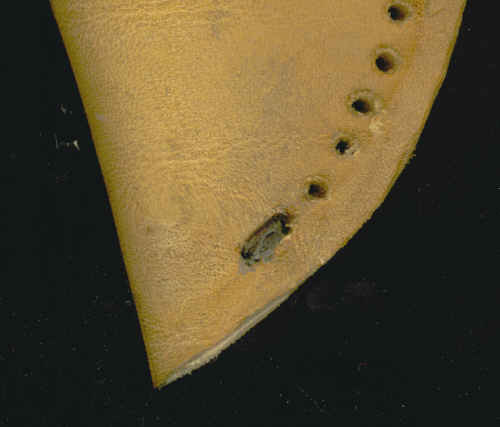
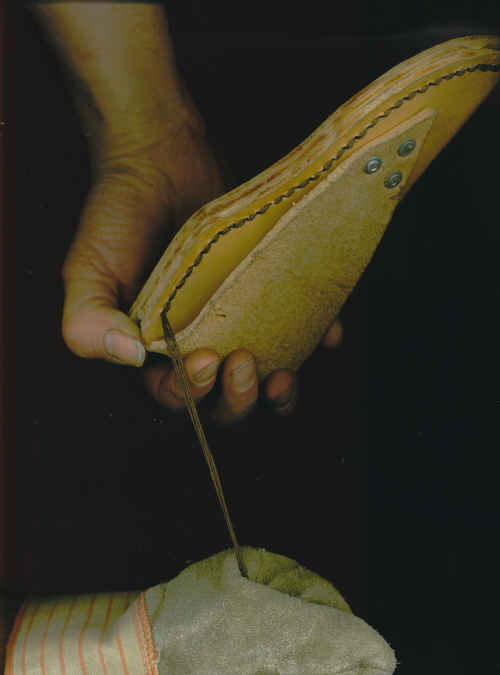
Pull apart all three layers of the leather at the tip of the sheath.
Your needle will go through the third layer (back of sheath) of leather only, in the SECOND (2nd) hole.
Pull thread through leather, but do NOT pull it all the way through. Leave a tail of about one inch.
Put needle into but not through the first hole.
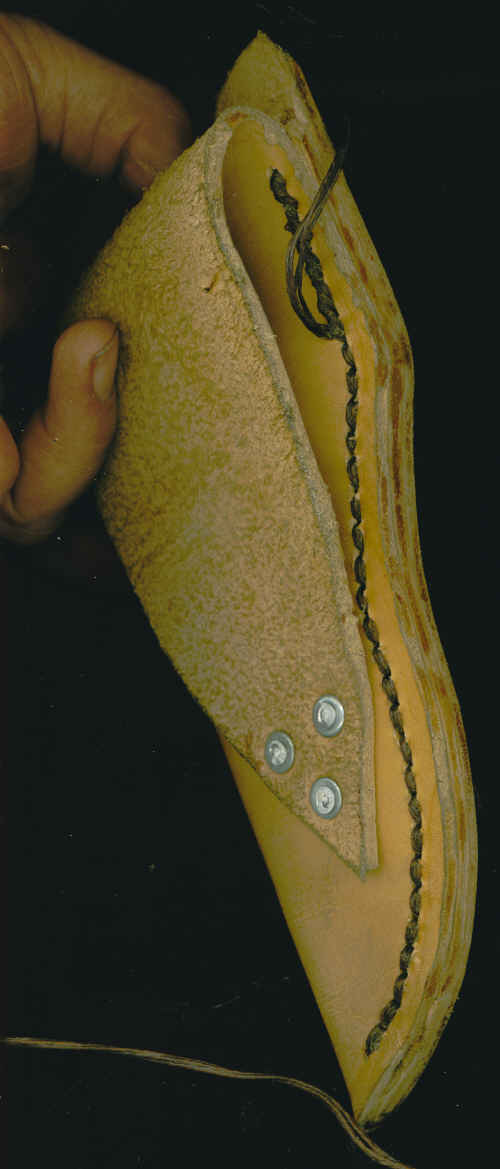
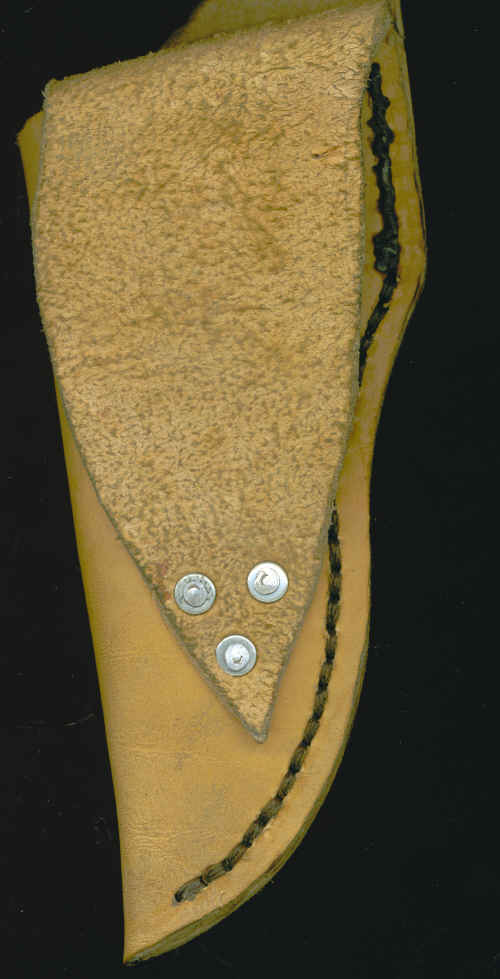
You should still be on the backside of your sheath.
(Backside meaning the side with the rivets)
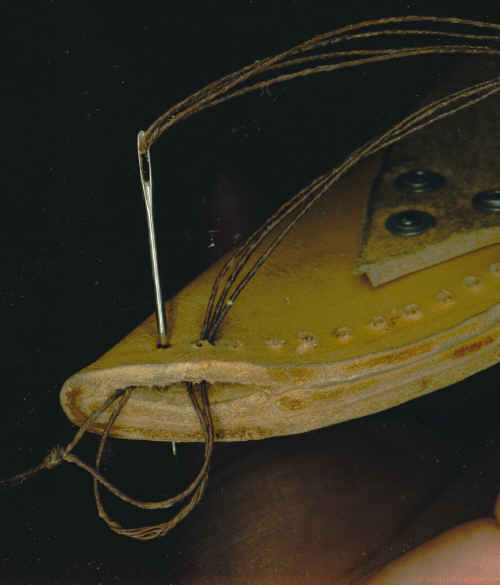
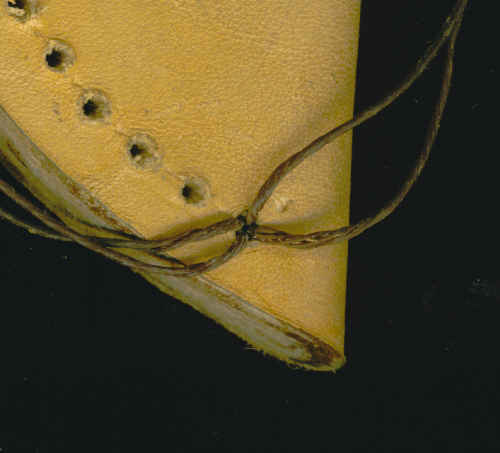
Pull apart your leather and loop your thread ends over the needlepoint then go through your second and first layers of leather.
(Before pulling this tightly you will need to burn the knot that you tied in your thread, if using waxed nylon).
Pull thread through, this is what your backside should look like.
.
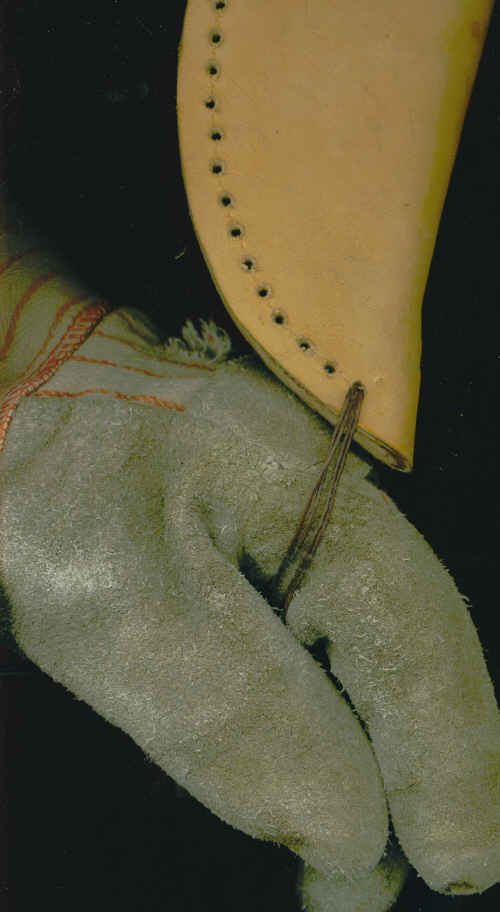
Pull thread very tight in a downward motion.
.
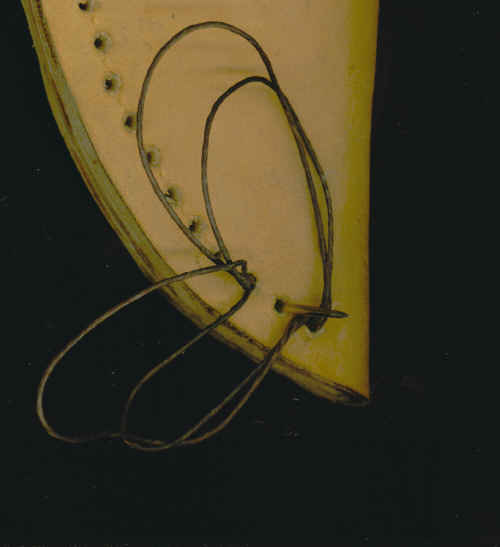
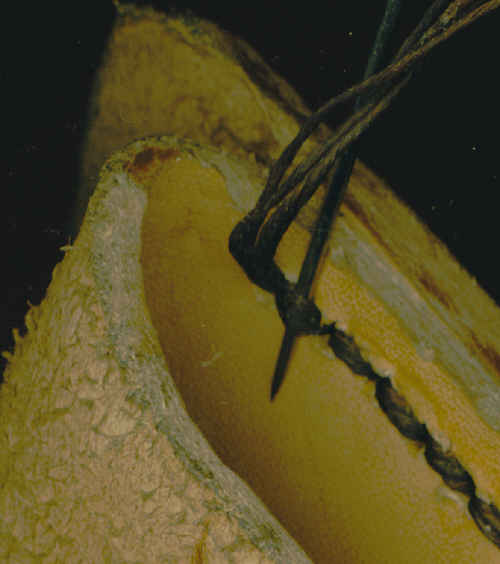
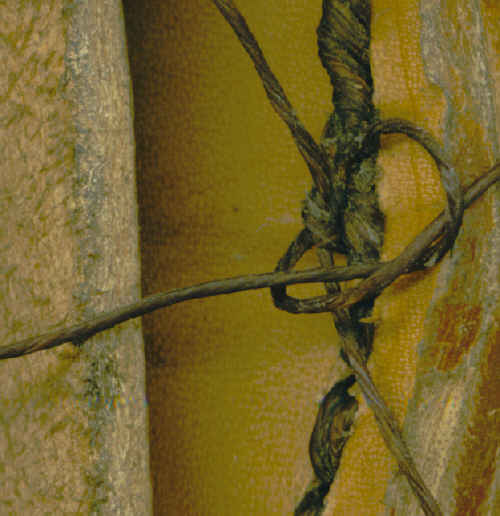
From the front of your sheath, now, divide your thread into two.
The thread on the right side will cross over (twist) the left for a nice patterned look to your stitch.
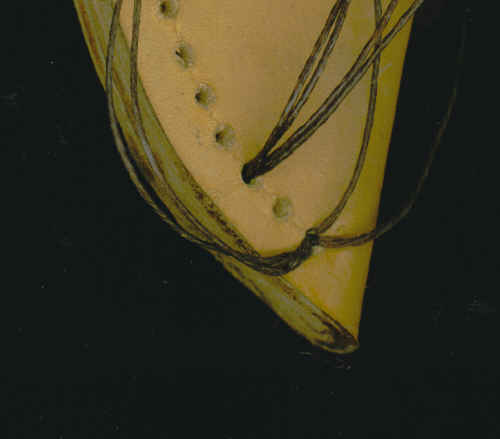
Skip hole no#2 and put the needle in hole no#3.
From the backside put needle into no#2 come up between the threads that you have divided.
Pull tightly!
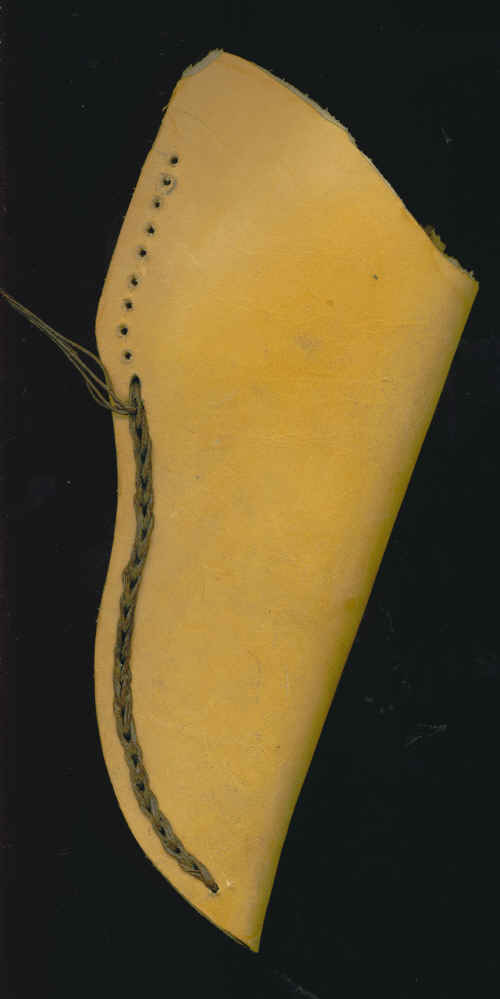
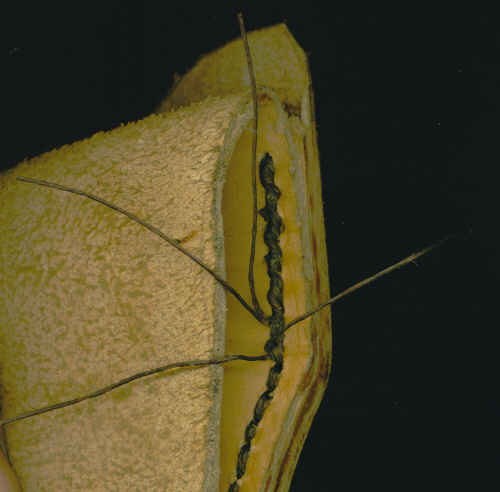
Continue these steps, always pulling tightly, at the end of every stitch.
Always when you divide the thread, make the thread on the right side over lap (or twist) the thread on the left.

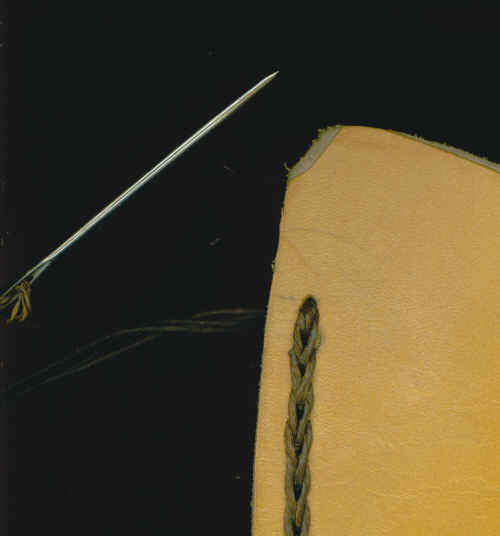
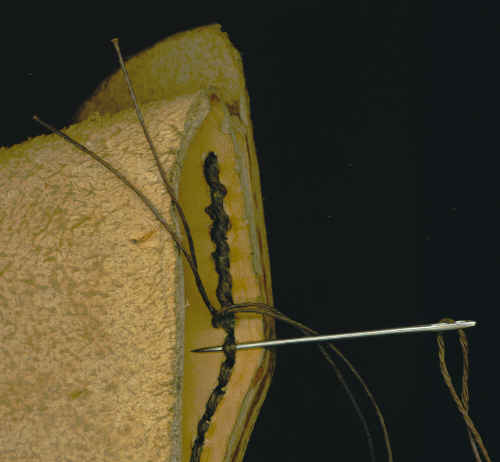
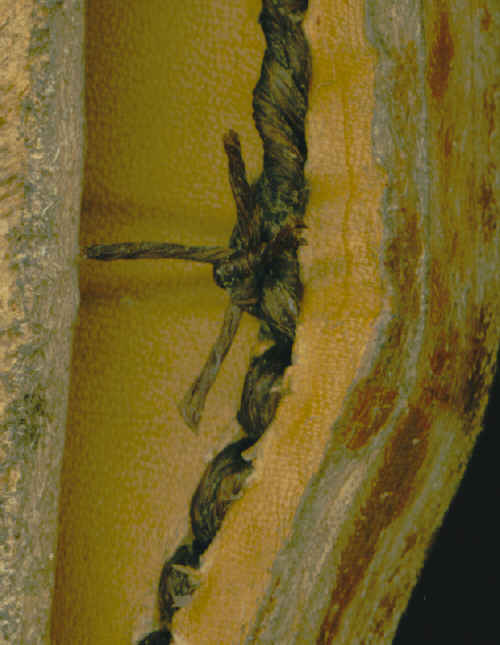
When you reach the last hole, go through it and then come back through the second from the last hole.
Twist your thread the same direction as you have been, and put it down through the last hole.
Pull tightly.
.
From the backside, lift the first thread and go under it.
You will need to pull it through with pliers.
Continue to go through the next stitch and pull through,
until you have gone back far enough that your belt will not rub the last stitch where your knot will be.
Cut through two threads and put the other two through one more stitch. Then cut them also, leaving about two inches or more, enough to tie them off.
Pull the two separate pieces tightly.
Now separate the four strands.
Tie the opposite strands together in two separate knots.
Divide them again and tie them into two knots again.
Cut them off, leaving only a short end. (¼ inch.)
Burn the ends off and let the waxes melt in together for a second or two.
Use the end of your lighter or something hard to make the threads or knot lie flat.
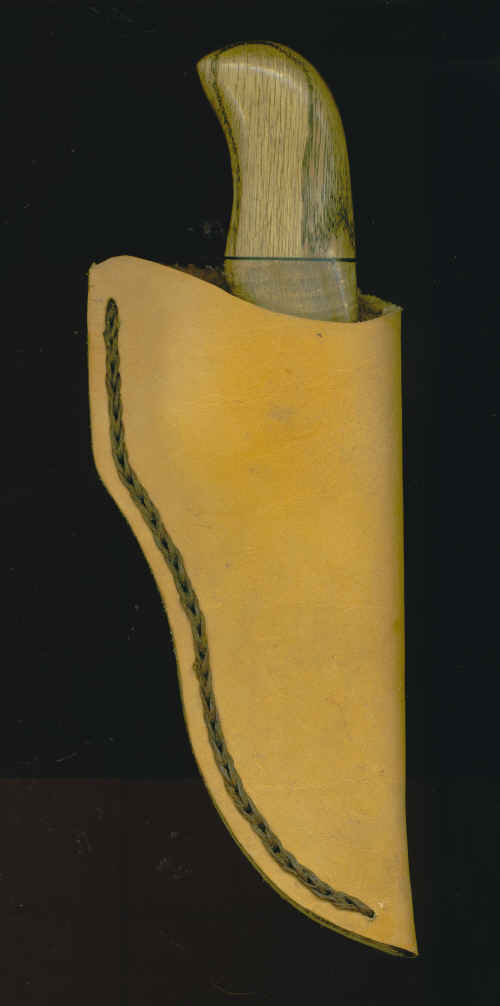
Youre Finished
|